Install Requirements
Hardware and software requirements for Immich
Software
Hardware
- OS: Preferred unix-based operating system (Ubuntu, Debian, MacOS, etc). Windows works too, with Docker Desktop on Windows
- RAM: At least 2GB, preferred 4GB.
- CPU: At least 2 cores, preferred 4 cores.
Using Docker Compose
Docker Compose is the recommended method to run Immich in production. Below are the steps to deploy Immich with Docker Compose.
Step 1 - Download the required files
Download docker-compose.yml example.env.
From a directory of your choice (e.g. ./immich-app) run the following commands:
# Get docker-compose.yml file
wget https://github.com/immich-app/immich/releases/latest/download/docker-compose.yml
# Get .env file
wget -O .env https://github.com/immich-app/immich/releases/latest/download/example.env
Step 2 - Populate the .env file with custom values
.env content
###################################################################################
# Database
###################################################################################

DB_HOSTNAME=immich_postgres
DB_USERNAME=postgres
DB_PASSWORD=postgres
DB_DATABASE_NAME=immich

# Optional Database settings:
# DB_PORT=5432

###################################################################################
# Redis
###################################################################################

REDIS_HOSTNAME=immich_redis

# Optional Redis settings:

# Note: these parameters are not automatically passed to the Redis Container
# to do so, please edit the docker-compose.yml file as well. Redis is not configured
# via environment variables, only redis.conf or the command line

# REDIS_PORT=6379
# REDIS_DBINDEX=0
# REDIS_PASSWORD=
# REDIS_SOCKET=

###################################################################################
# Upload File Config
###################################################################################

UPLOAD_LOCATION=absolute_location_on_your_machine_where_you_want_to_store_the_backup

###################################################################################
# Log message level - [simple|verbose]
###################################################################################

LOG_LEVEL=simple

###################################################################################
# Reverse Geocoding
####################################################################################

# DISABLE_REVERSE_GEOCODING=false

# Reverse geocoding is done locally which has a small impact on memory usage
# This memory usage can be altered by changing the REVERSE_GEOCODING_PRECISION variable
# This ranges from 0-3 with 3 being the most precise
# 3 - Cities > 500 population: ~200MB RAM
# 2 - Cities > 1000 population: ~150MB RAM
# 1 - Cities > 5000 population: ~80MB RAM
# 0 - Cities > 15000 population: ~40MB RAM

# REVERSE_GEOCODING_PRECISION=3

####################################################################################
# WEB - Optional
####################################################################################

# Custom message on the login page, should be written in HTML form.
# For example PUBLIC_LOGIN_PAGE_MESSAGE="This is a demo instance of Immich.<br><br>Email: <i>[email protected]</i><br>Password: <i>demo</i>"

PUBLIC_LOGIN_PAGE_MESSAGE="My Family Photos and Videos Backup Server"
- Populate custom database information if necessary.
- Populate
UPLOAD_LOCATIONwith your preferred location for storing backup assets.
Step 3 - Start the containers
# Start the containers using docker compose command
docker-compose up -d # or `docker compose up -d` based on your docker-compose version
Step 4 - Upgrading
When a new version of Immich is released, the application can be upgraded with the following commands, run in the directory with the docker-compose.yml file:
# Upgrade Immich
docker-compose pull && docker-compose up -d # Or `docker compose`
Post Install Steps
Step 1 - Register the Admin User
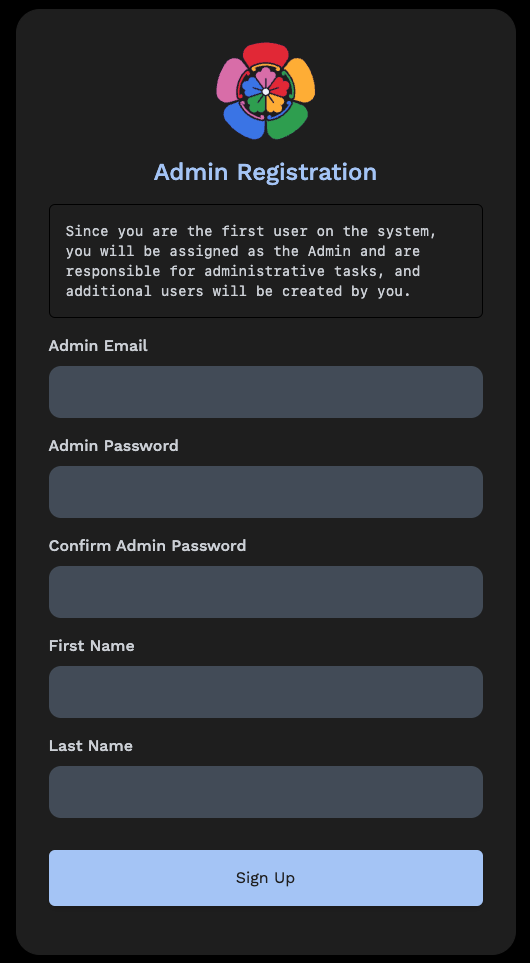
The first user to register will be the admin user. The admin user will be able to add other users to the application.
To register for the admin user, access the web application at http://<machine-ip-address>:2283 and click on the Getting Started button.
Follow the prompts to register as the admin user and log in to the application.
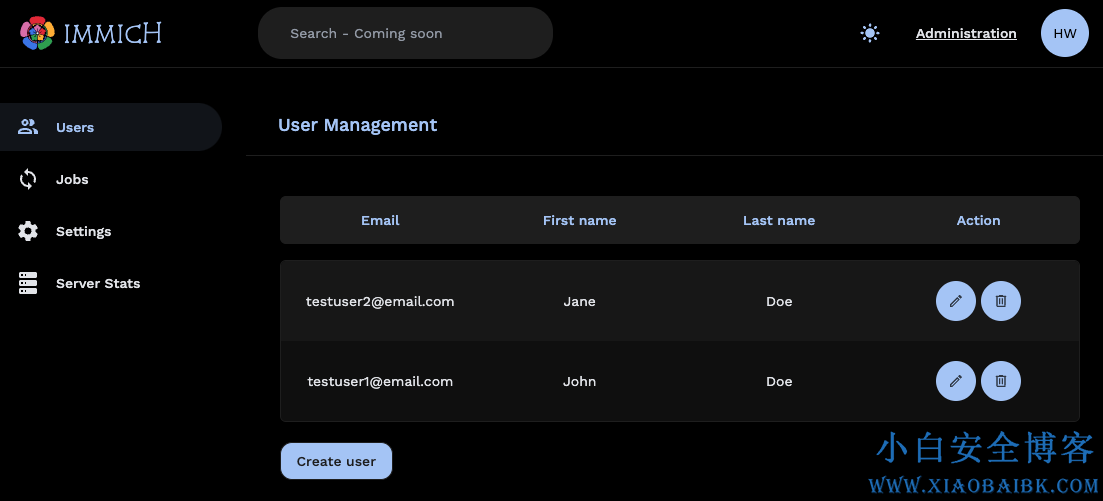
Step 2 - Create a New User (optional)
If you have friends or family members who want to use the application as well, you can create addition accounts. The default password is password, and the user can change their password after logging in to the application for the first time.
Step 3 - Update the Storage Template
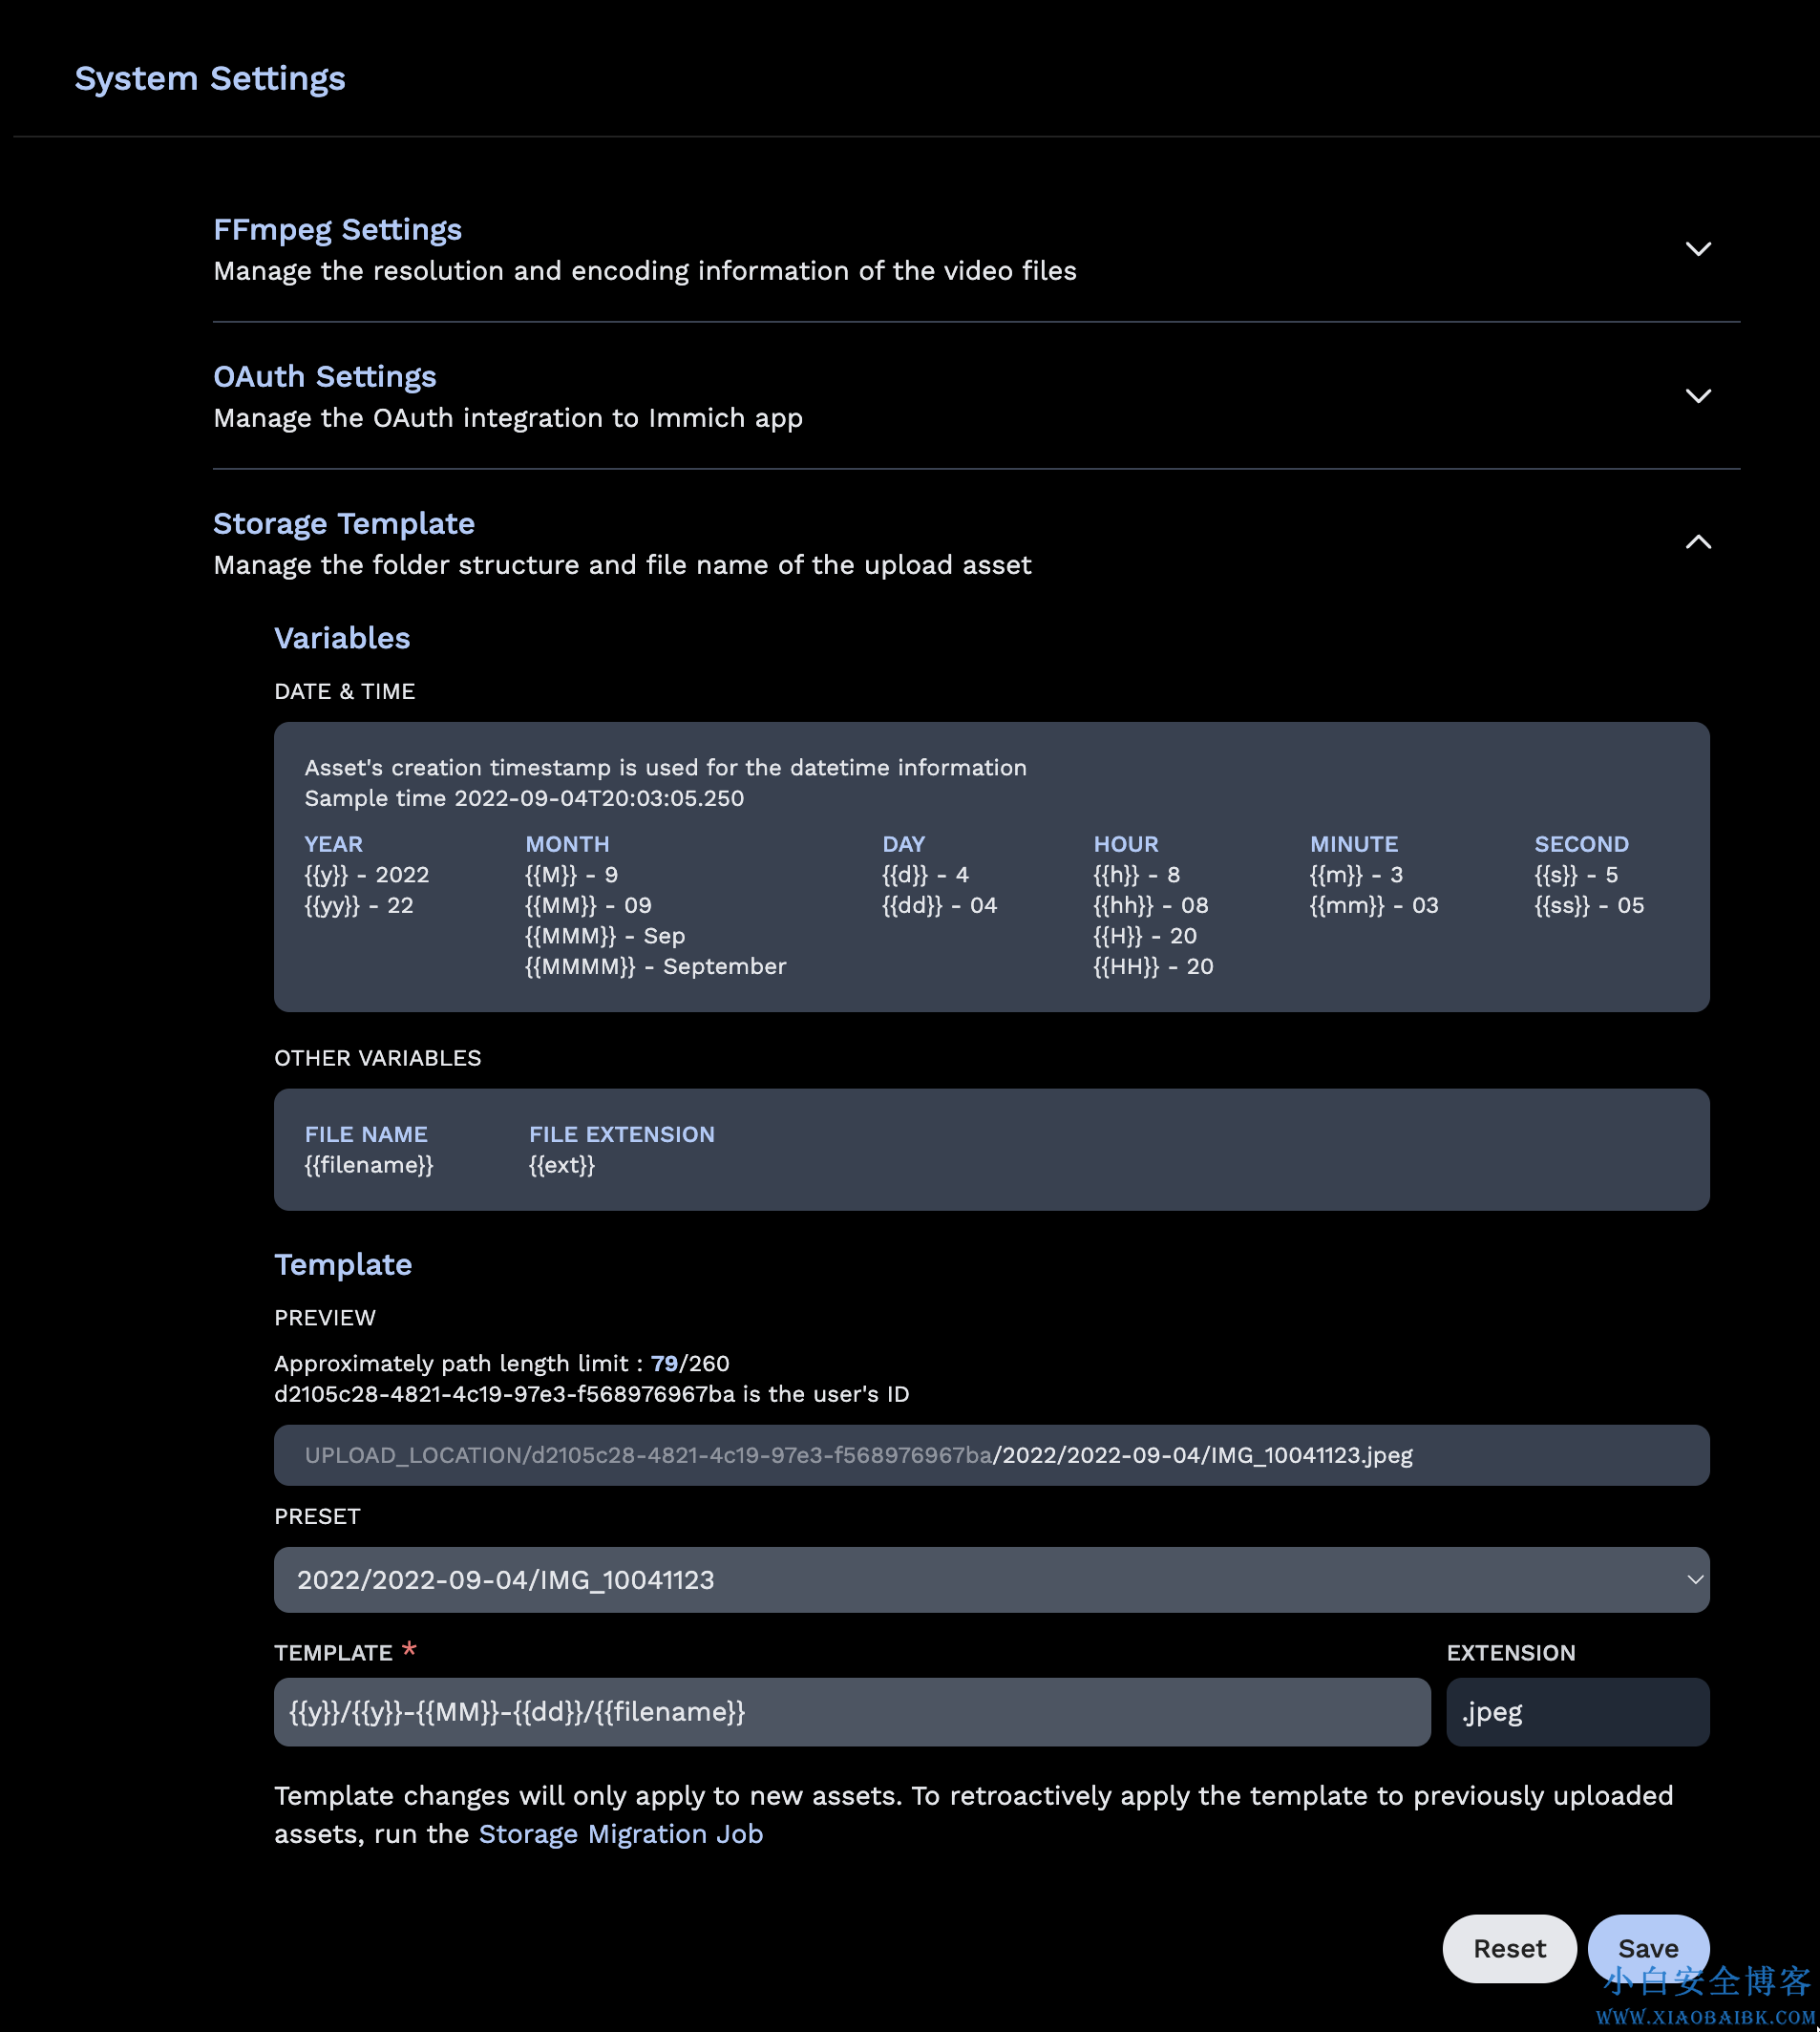
Immich allows the admin user to set the pattern of how the files are uploaded to the Immich would look like. Both in the directory and the filename level.
The admin user can set the template by using the template builder in the Administration -> Settings -> Storage Template. Immich provides a set of variables that you can use in constructing the template, along with additional custom text.
Year/Year-Month-Day/Filename.ExtensionImmich also provides a mechanism to migrate between template so that if the template you set now doesn't work in the future, you can always migrate all the existing files to the new template. The mechanism is run as a job in the Job page.
Step 4 - Download the Mobile App
The mobile app can be downloaded from the following places:
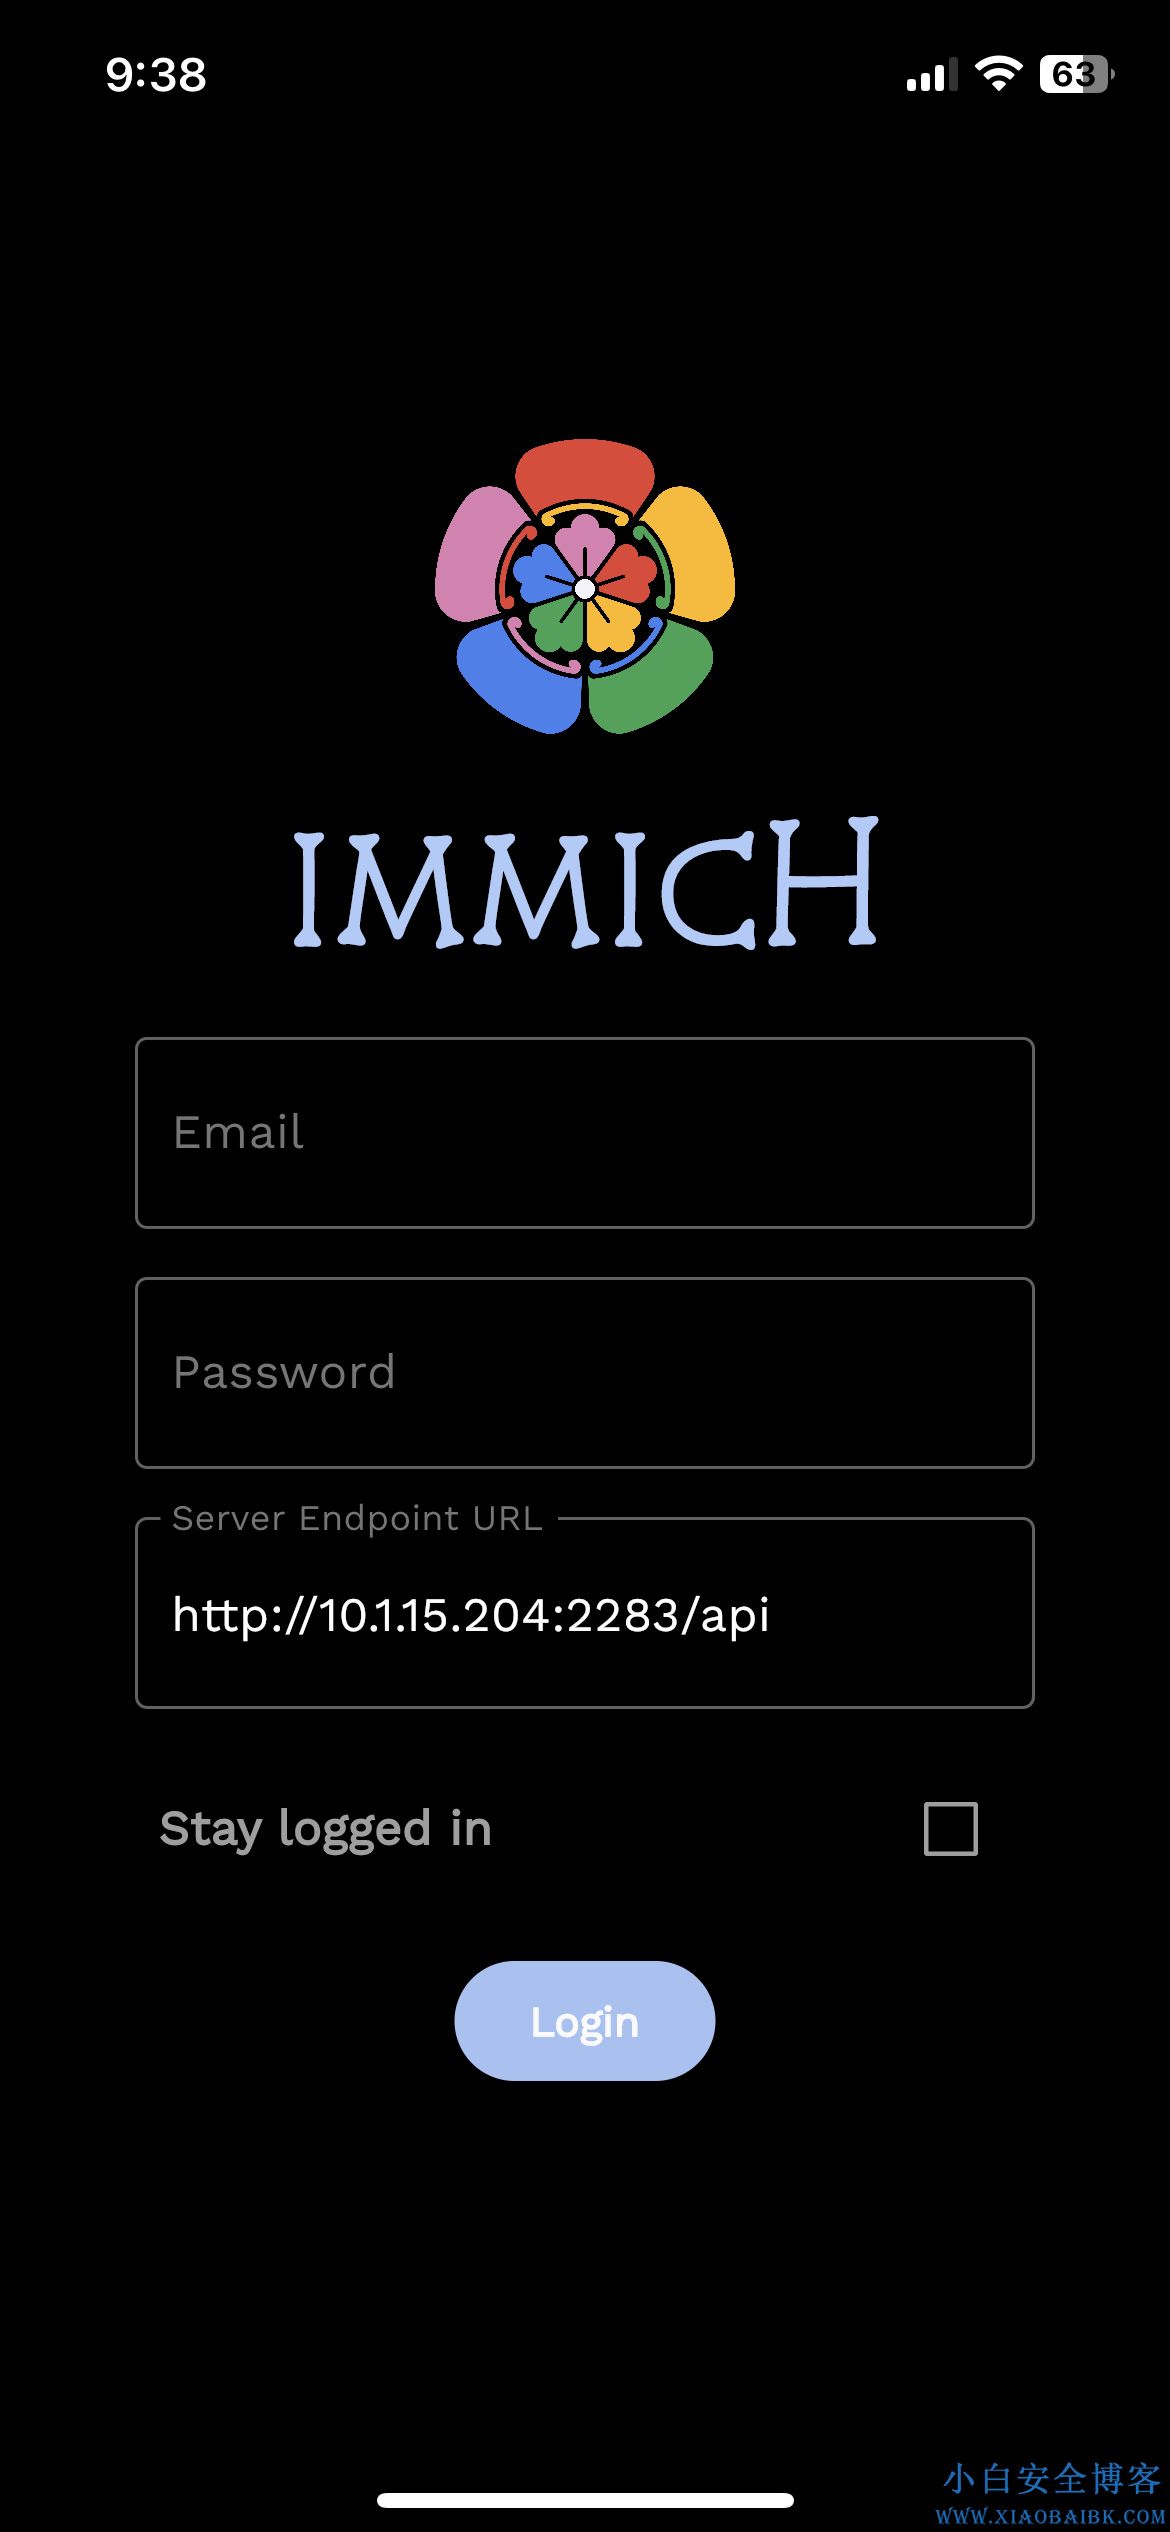
Step 5 - Login to the Mobile App
Login to the mobile app with the server endpoint URL at http://<machine-ip-address>:2283/api
Step 6 - Backup Your Library
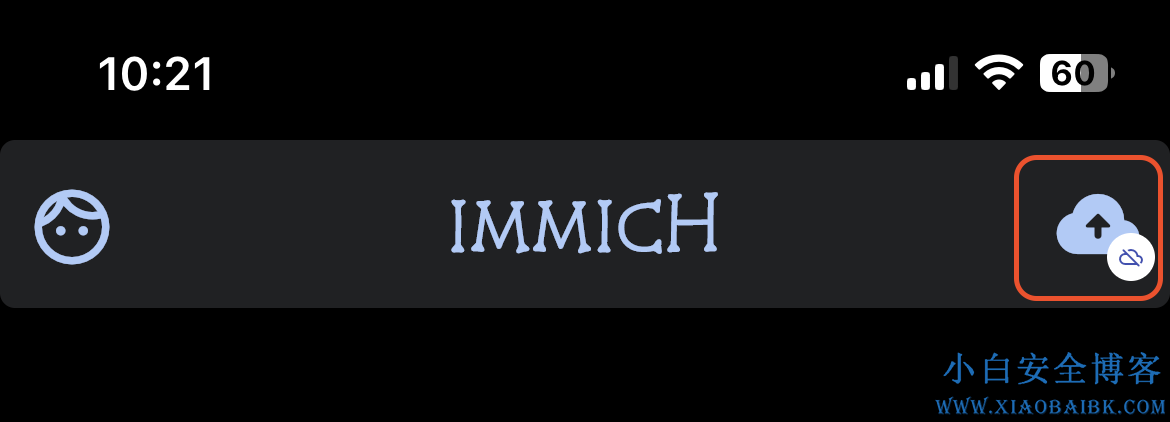
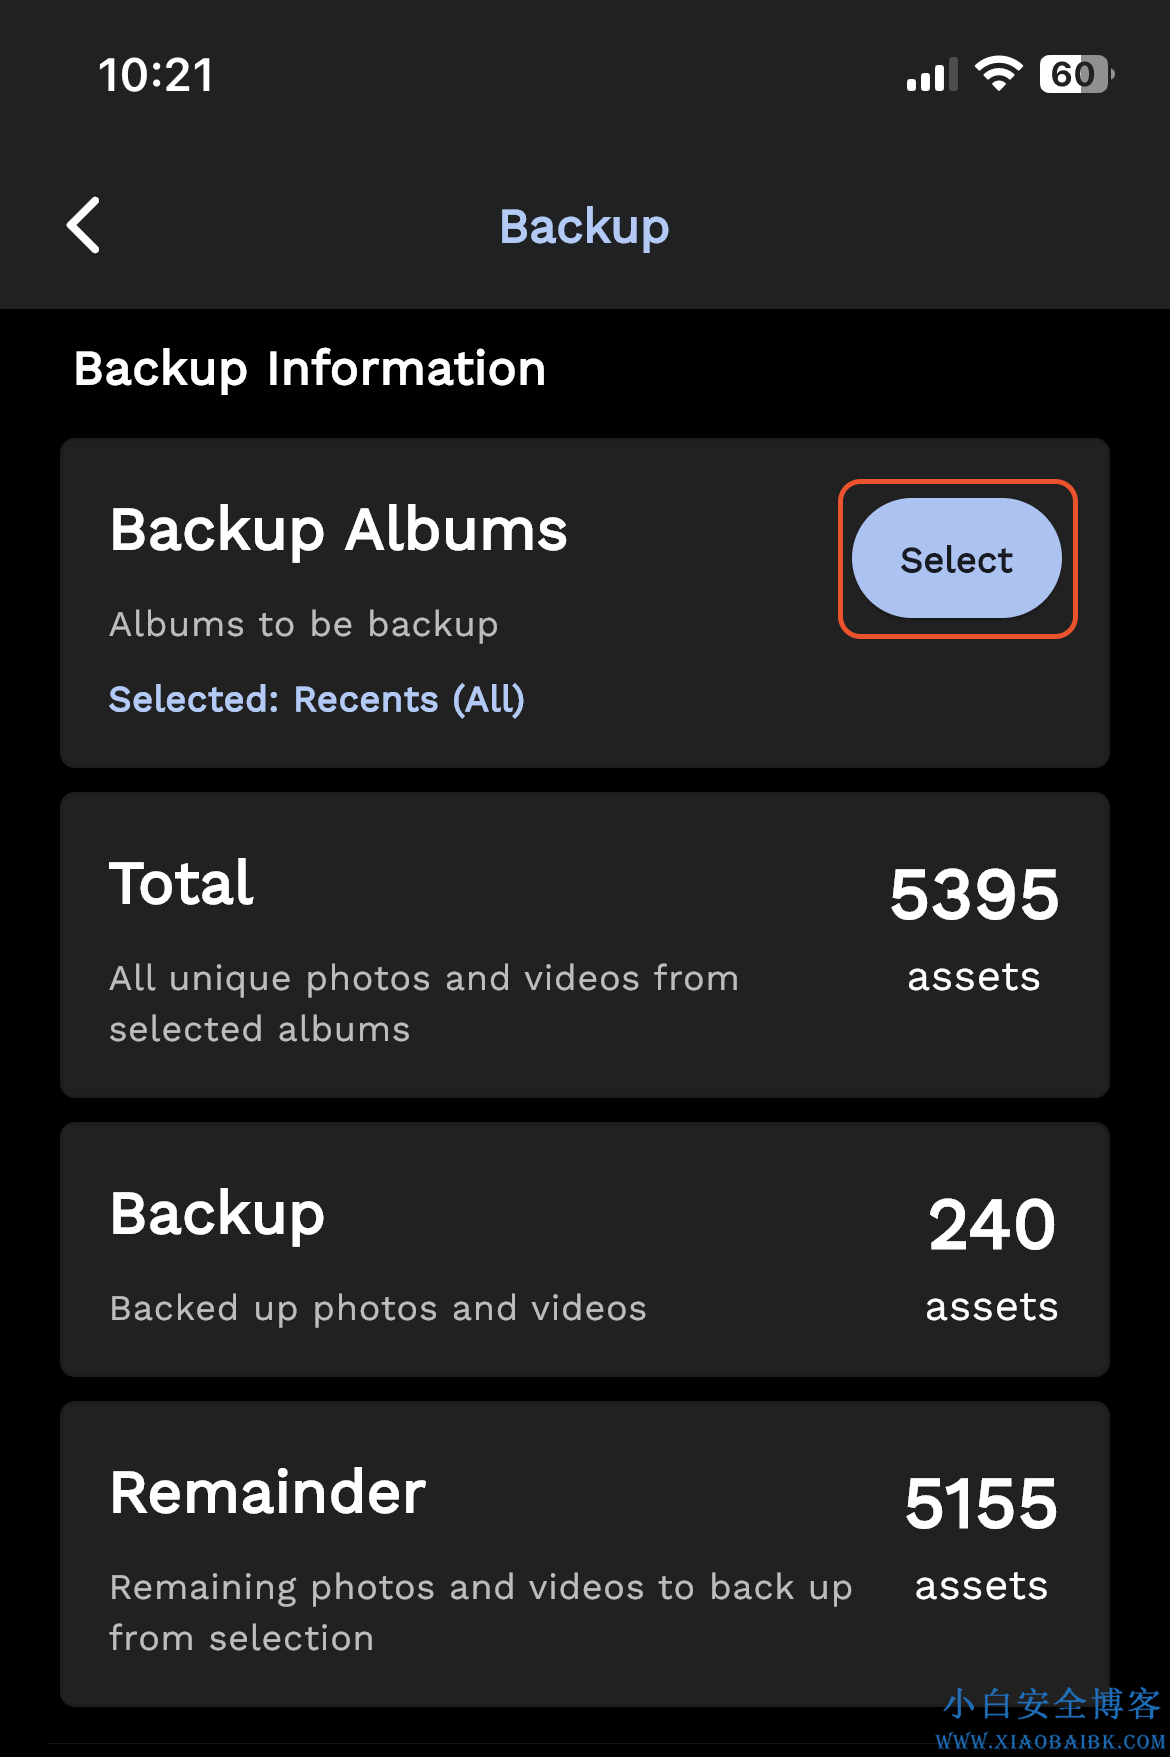
Navigate to the backup screen by clicking on the cloud icon in the top right corner of the screen.
You can select which album(s) you want to back up to the Immich server from the backup screen.
Scroll down to the bottom and press "Start Backup" to start the backup process.
Documentation
本文作者为Mr.Bai,转载请注明。

